Product Hub September 06, 2016
5 Steps to Printing a Great Cap
With the right tools, screen printing on caps can be easy and effective.

1. Choose the right kind of hat.
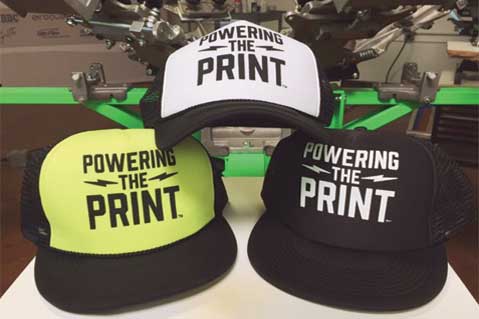
Screen printing works best on a flat medium, not a cap’s curved surface. You can get around this limitation by choosing a trucker hat with a crown that’s easier to bend and lay flat, says Ryan Moor, CEO of Ryonet Corp. (asi/528500).
2. Use a water-based ink with a low-cure additive.
When you’re mixing your water-based ink, add in a product like Warp Drive, a low-cure catalyst meant for Green Galaxy water-based ink. The product lowers the curing temperature needed for ink from 330 degrees Fahrenheit to as low as 180 degrees. With Warp Drive, you’d add 1.5% per weight to your ink, so for 100 grams of water-based ink, add 1.5 grams of the low-cure additive.
3. Use a hat platen.
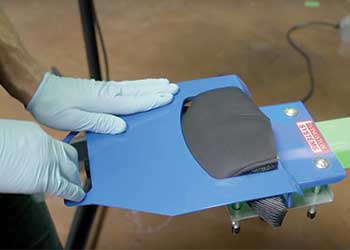
Moor recommends a product from Livingston Systems called the Hat Champ. Secure your hat into the platen, tucking the bill toward the outside of your press and clamping down. “You’re actually going to put your artwork upside down,” Moor says.

4. Print your hat.
Use 156-mesh screen, and use a good amount of off-contact when you print. Flood the screen and pull the squeegee over the hat’s contour. It’s generally a good idea to print twice because of how absorbent trucker hats are. “These hats soak in a lot of ink,” Moor says.
5. Flash to cure your print.
Hats can’t really be thrown down a conveyer belt easily. Instead, you can flash the hat to cure the print. Using a temperature gauge to make sure it doesn’t get too hot, flash the print. With the low-cure additive in your water-based ink, you can do a final cure at about 250 degrees. Make sure the ink isn’t too tacky before removing it from the flash.

Product Hub
Find the latest in quality products, must-know trends and fresh ideas for upcoming end-buyer campaigns.
