Personalized golf club covers will be a sure score with customers. Check out these 5 great tips on getting the perfect look.
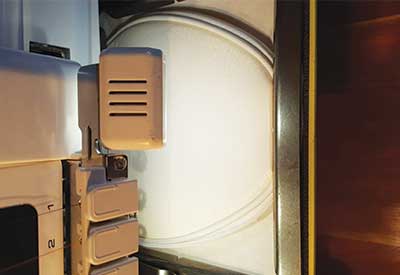
1. A Golf club cover is hard to hoop, so secure it before hooping. One way is to place the cover on a piece of adhesive stabilizer. The other is to use an adhesive spray like 505 or Sprayway 89 on a piece of medium to heavyweight tearaway backing.
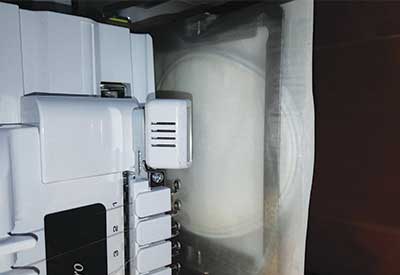
2. Once your adhesive stabilizer is prepared, lay the golf club cover on top and press firmly. Roll up the sides of the cover to help it lay flat.
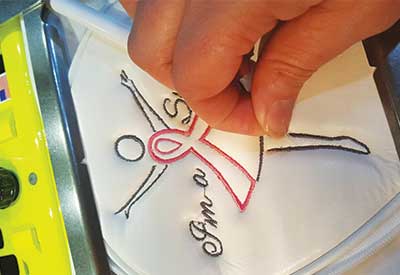
3. Place the golf club cover in your hoop and clamp. Any indentations left by hooping will come out of the cover once the embroidery is complete and the hoop is removed.
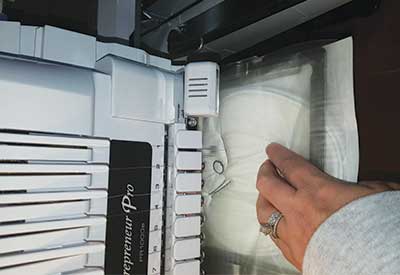
4. Trace the design to ensure your placement in the hoop is correct. Place two layers of water-soluble topping on top of the golf club cover. While stitching, it may be necessary to apply a little weight to reduce any bounce.
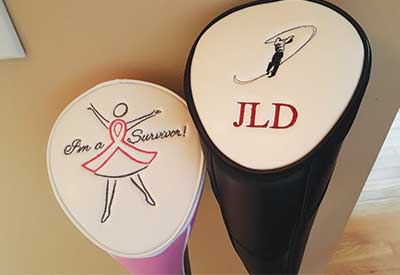
5. When the embroidery is complete, remove any excess topping and tearaway. Press the inside of the golf club cover outward to remove any indentations.
Hot Tip:
If the machine needles require assistance getting through the cover material, lubricate them with some Sewers Aid to make the stitching glide more smoothly. These five steps can also be used for a 5” x 7” hoop, but in that case, the golf club cover would be floated, not hooped.
All embroidery and instructions provided by Jennifer Davis of Southern Accent Embroidery.

Product Hub
Find the latest in quality products, must-know trends and fresh ideas for upcoming end-buyer campaigns.


